Modified on: Tue, 26 Oct, 2021 at 12:03 PM
The first thing you need to do is get in touch with us so we can switch this on for your organisation, please raise a ticket stating you wish to enable SSO and we will action this for you quickly. Once we've put in place what we need at our end, please follow the steps below to set up.
To enable SSO for your organisation using Azure AD on the Mitigate Hub, you will need to follow the below steps:
- Login
- App Registration
- Creating a Secret
- Add API Permissions
- Enter information into Mitigate Hub
IMPORTANT - Please note to configure SSO with the Mitigate Hub, you will be required to input the following information into the system:
- Tenant Id
- Client Id
- Client Secret
Here is the full breakdown:
Log In:
1. Log In to your AD Account
2. Take the necessary steps to log in to your Azure account and make sure that you have sufficient
administrative rights to be able to create a new ‘App Registration’.
App Registration:
1. Click on the 'App registrations' icon as shown below in order to begin the configuration process.

2. Click 'New registration' - this is how you allow Mitigate Cyber access to your AD server with the full protection of OAuth2.

At the end of the app registration stage, there will be three values that you will need to email to us. From there, we will take care of the rest of the configuration to enable your single sign-on.
3. You will now need to enter two values, the first field is the 'Name' (enter something that is relevant to the app), for example: “MitigateCyber Platform”. The second value that needs entering is the one shown near the bottom of the form, this is labeled as the Redirect URI (optional) field, it is crucial that this be entered exactly as shown:
https://api.mitigate.training/complete/ad
Please copy and paste this URL to avoid any typos!
4. Once you have entered the required values, press the 'Register' button.
5. On the 'Overview' screen for the registration. Please copy and paste the 'Application (client) ID' field and the 'Directory (tenant) ID' field values to add into the SSO tab within the Mitigate Hub under 'Organisation'.

Image - Overview
Certificates & Secrets
The final value that you need to supply to us is a 'secret', this establishes our identity to your AD server.
To create a secret:
1. Select the 'Certificates & Secrets' tab from the navigation bar on the left.
2. Go to the section labeled 'Client secrets'.
 3. Click 'New client secret'.
4. Name the secret: e.g. MitigateSSO
5. Set the expiry - If you set this to 'In 1 or 2 Years' the secret will need to be refreshed during that timeframe.

6. Click 'Add' and this will generate your secret.
7. It is important to copy the 'Value' now as once you leave and return to this page you will not be able to access the full value again.
8. Once you have copied the secret 'Value', Application (client) ID field, and the Directory (tenant) ID field, please add it into the SSO tab within the Mitigate Hub under 'Organisation'.

API Permissions
Next, you will need to set up your API Permissions for Mitigate Cyber.
1. Go to 'API Permissions' within the navigation bar on the left.

2. There are four permissions required:
- Directory.Read.All
- Organization.Read
- User.Read - This will already be populated
- User.Read.All
3. Select ' Add a permission'.
4. Select ' Microsoft Graph'.
5. Select 'Delegated permissions' to the left - this will show you a panel containing a search box that you can use to search for the three remaining permissions.
6. Search for 'Directory.Read.All'.
7. Click the right-facing arrow next to the search result.
8. Select the single check box.
9. Clear the search box.
9. Search for the remaining two permissions:
- User.Read.All
- Organization.Read.All
10. Click the 'Add Permissions' button.
The final result should be like the image below, if not then check the instructions and try again.

11. Select 'Grant admin consent for Mitigate Cyber'.
12. Select 'Yes ' in the dialogue box if you are happy to grant these permissions to the application registration:
13. Once this has been done, you should see the warning triangles are now green ticks within the 'Status' bar.

Finally,
If you haven't done so already, please go to the Mitigate platform and go to 'Organisation' where you will be able to enter the below information:
- Tenant Id
- Client Id
- Client Secret
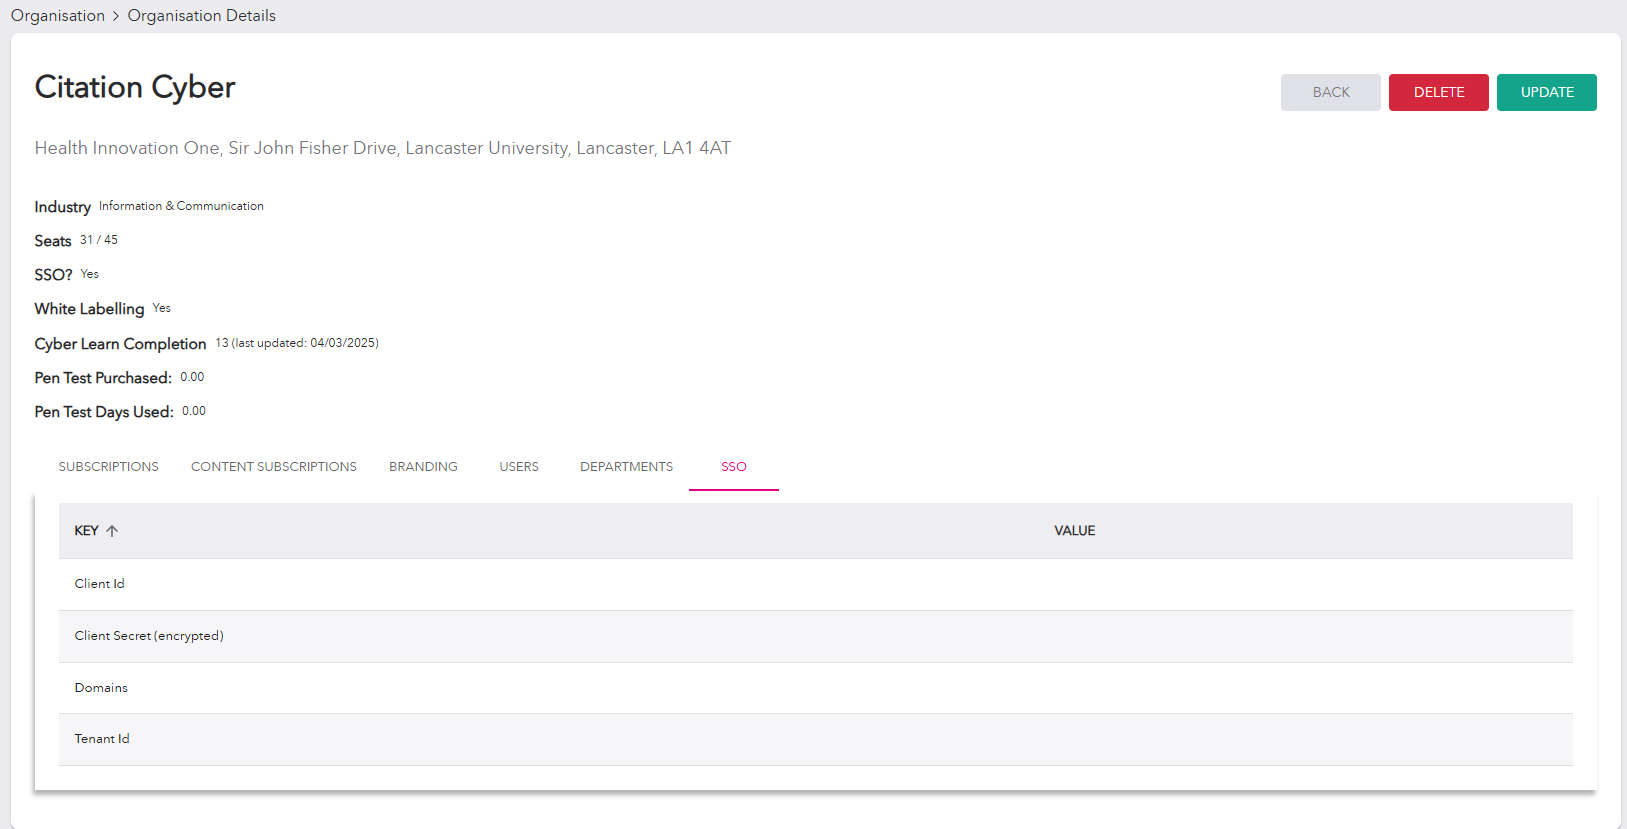
Good work - You have now set up SSO successfully!
Did you find it helpful? Yes No
Was this article helpful?
That’s Great!
Thank you for your feedback
Sorry! We couldn't be helpful
Thank you for your feedback
Feedback sent
We appreciate your effort and will try to fix the article